
Post by Rou on May 24, 2013 20:19:23 GMT -5
All-Inclusive Guide to Crafting
Basic Information
How to Mine, Farm, and Summon
Now Let's Get to the Crafting
Crafting Aids
That's All, Folks!
**Racial crafting is not included in this guide.**
Basic Information
The first thing everyone needs to know about crafting in Eden Eternal is that the system is completely unlike that of other games. I'm going to break the system down step-by-step so that even newbies can gain an understanding of it.
The first thing you need to know is how to find what you're looking for. At level 20, each player is issued a task to go to Aven and start learning about the crafting system. Small quests will teach you about farming, mining, summoning, and crafting, but there's always the chance that you'll forget. This is an advanced guide to what those quests are teaching you.
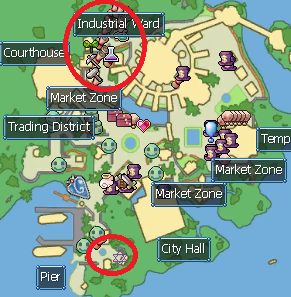
To begin with, everything you could ever possibly need to craft until level 30 can all conveniently be found in the same area of Aven called the Industrial Ward, found here:
The above image shows you both the locations of the Industrial Ward and the Summoner, who lives far away. You can also see green smiley face icons, these are fame vendors. Many crafting projects will need items from these fame vendors, and a full list can be found here.
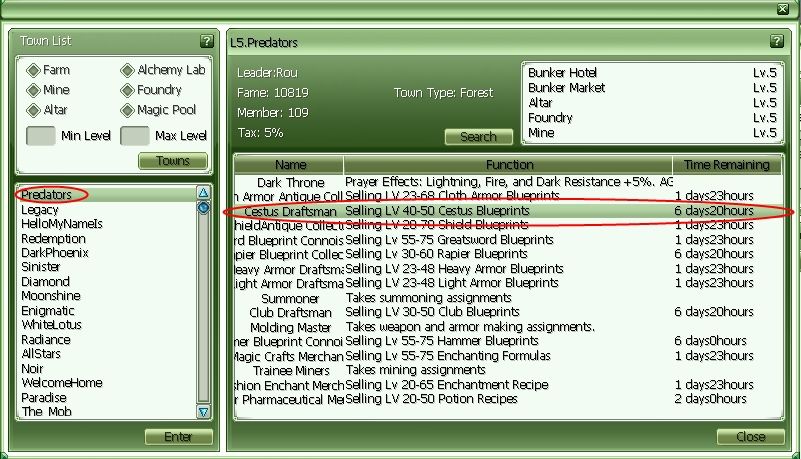
But for those who are crafting things of a higher level, this is where the fun begins. NPCs needed for crafting are found in guild towns. For this example, I'm going to be looking for a cestus blueprint merchant, but the method of locating any NPC is exactly the same.
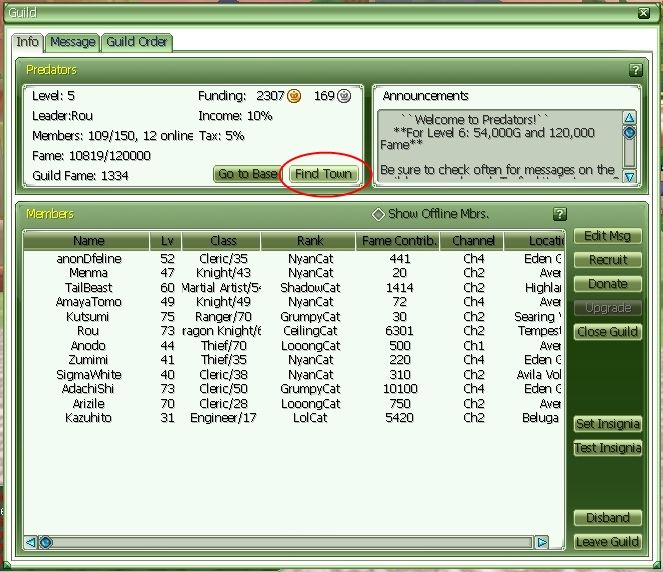
To begin, press G to bring up the guild interface. There will be a “Find Town” button, click it.
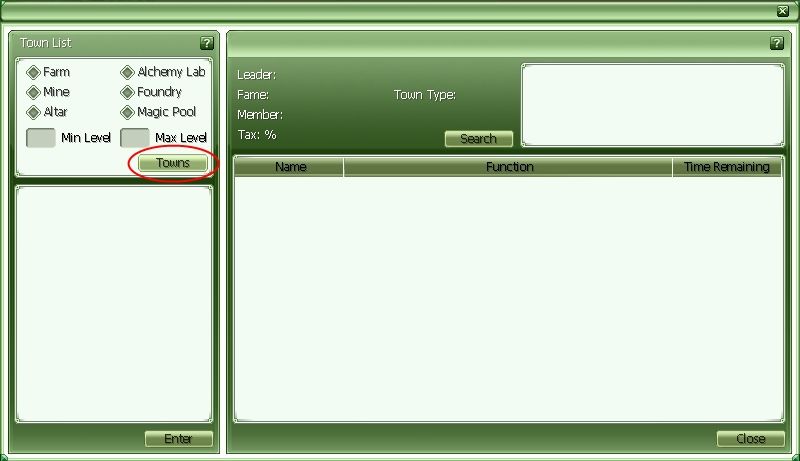
This will bring up a blank Town List. Press “Towns” to bring up the guild town list. The options above allow you to sort guilds by those who have buildings such as the mine or the foundry. Minimum level will filter guilds below the level you put, and Max level will filter out guilds above the level you put. Level is important, as every assignment, be it mining, crafting, or summoning, has a Work Level. You cannot execute an assignment in a guild or on a building that is lower than the Work Level of your assignment.
Moving on.
Select guild names to see what sorts of merchants they have. At the top right you can see what kinds of buildings they have. It is important to note that you cannot input a search for a specific NPC, you must search through the guilds for the NPC yourself. Anything you're looking for, be it a weapon, armor, mine, or gem, will be found using this method. NPCs have different names, but they sell what their name suggests. Be careful to pay attention to the level range, which is always listed to the right of the NPC name, to ensure you find what you're looking for. When finding guilds, be sure to check taxes. A high tax will make things more expensive than they need to be. A good range is 10% tax or less.
Once you're in the town, open your map. At the right you'll see dropdown lists. Click Merchant, and it will dropdown to show all the merchants in the town. Scan the list and find the merchant you're looking for, then simply click on it to auto-route.
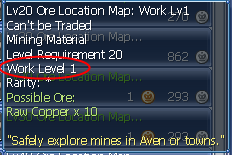
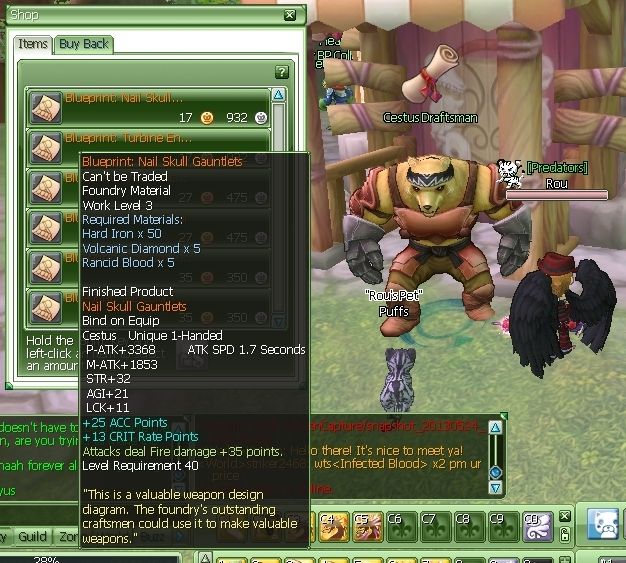
Here I am, at the Cestus NPC. Looking at the Nail Skull Gauntlets blueprint, I can see the Work Level, required materials, and the resulting weapon if the crafting succeeds.
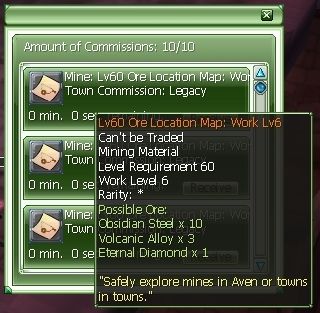
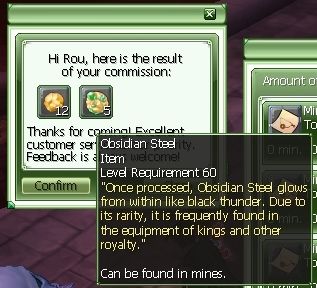
Now, you can see that there are materials to be collected? Hard Iron and Volcanic Diamond are both found at a Mine, but Rancid Blood comes from map bosses and Dungeons. All materials come from one of five places: Mine, Farm, Altar, Maps, and Fame. I'll be talking about the first three here.

How to Mine, Farm, and Summon
Mining and Farming are fundamentally the same, mechanics-wise. Once you find your NPC, you talk to them, select the option that has the level items you need, and buy 10 assignments. Why only ten? You can only hold ten assignments at once.
At the top of the commissions screen, you can see Amount of Commissions: 10/10. This allows you to know how many you have at once, and this includes both mining and farming. It gives a scrolling list of each individual assigment, each showing the name of the assignment, the town you commissioned in, a timer, and the button to receive it once it finishes. Each set of 10 takes 30 minutes to complete. You need to set it at the npc, and then you're free to leave. The commissions can be found at the bottom right of your screen as an orange box, and will ding and flash when it's finished: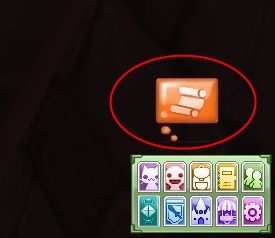
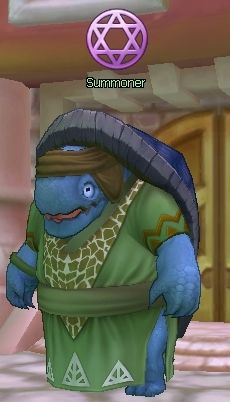
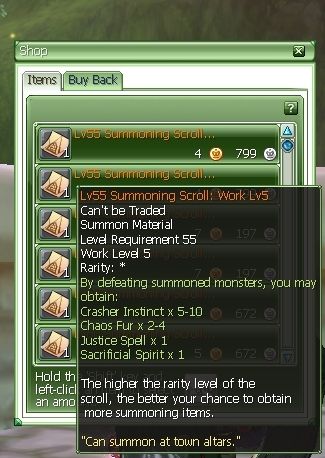
Summoning, however, is done by a different method. While you can only buy in stacks of ten, you can buy as many summoning assignments at a time as you like. When you talk to the summoner, she will summon monsters of the item level for you to defeat, and once defeated, it will drop an item listed on the assignment. It is important to know that if you're in a party when you summon, your party mates will receive any achievements you get if they're on the map, but there is also a chance that they can pic up your items, especially if the distribution is on random. Be careful when summoning.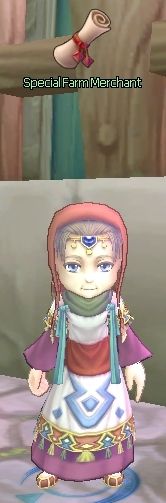
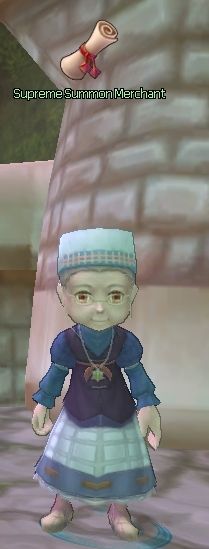
Again it is important to note that not all NPCs have the same names. Farm merchants have names like agricultural or botanists, miners have names like mineral or ore. Summon merchants always have “Summon” in their name, however.
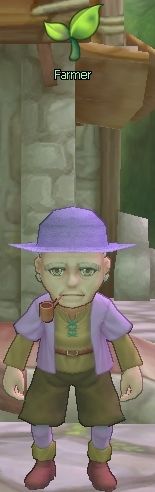
For farming, there are two NPCs you will want to look for. Farmer, shown above, will increase your output by +2. So if you get 3 of a certain item according to your assignment, you'll get 5 using the Farmer. The other one is Master Farmer, whom increases success rate by +20%. This farmer is better to use if you're trying to get a hold of elusive gold mats.
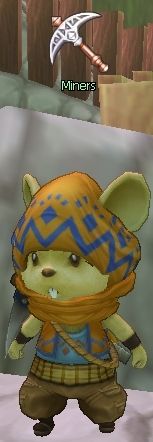
For mining, it's the same. The Miners shown above will increase output by +2, and Master Miner will increase success rate by +20%.
As for summoning, there is only one summoner, no rate increases or output increases unfortunately.
For mining and farming you are able to use a Gathering Aid to increase success chances or to speed up the time with an Instant Gathering Scroll. However if used on the summoner it will glitch and you will have to restart the summoning session, by exiting out of the operation and talking to the NPC again.
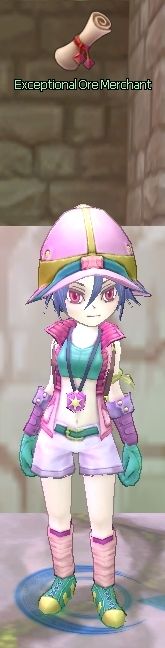
A note about other materials: Some are from Aven fame vendors. If they have a strange name, it's usually a fame item. Above I have given a link how to know what items are from which fames, how much fame is needed to acquire that item, and how to acquire that fame. Materials such as blood, monster remains, and ashes drop from map bosses, rare monsters, legions, and from dungeons and trials. Recently, ALL materials up to level 65 have become available in the Loyalty shop.
Now Let's Get to the Crafting
Armor, Weapons, and Capes
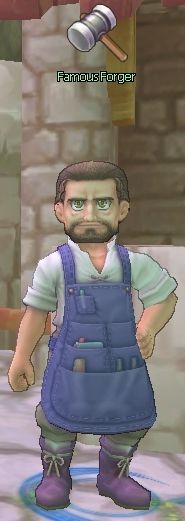
For crafting armor, weapons, and capess of any level, you need to first find a foundry. It's best to use a Famous Forger, as it increases success rate by +20%. Level 20 items all have a 100% chance of success, but as you go up in level, there's a larger and larger chance of failure. Failure means losing your blueprint, and all the mats required for that blueprint, and a lot of wasted gold.
What is a blueprint? All craftable items in the game have a blueprint. Orange blueprints are found at NPC merchants in either Aven (20-30) or Guild Towns. Gold blueprints are found in trials or in the loyalty shop, and the orange weapon is needed before you can craft the gold one. At the top of this guide I've shown you a cestus merchant, and blueprints for all weapons are the same. It will show you a list of items you need to collect, and once you get them, you take them to the Famous Forger and craft it.
Gems and Potions
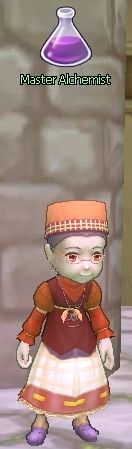
Gems are found and crafted in the same way as weapons and armor. NPCs will often have the name of Gem or Magic Stone. Unlike weapons and armor, however, Gems are crafted at an Alchemy Pool. The merchant you want to use is called Master Alchemist, which increases success rate by +20%. The Lv1 gems are all 100% success rate, but consecutive gems have larger failure rate gaps, but not only that, to craft a Lv2 gem, you need to have already made a Lv1 gem and use it as a material, so on and so forth. The higher level gem you make, the more chances of failure there are. To create a Lv4 gem, you need to craft four gems in total, three of which have a chance of failure.
Potions are crafted normally and have no bearing on whether or not you crafted the previous level.
Enchants, Rings, and Necklaces
Like most other crafting, the blueprints for these items have nothing to do with eachother, blueprints bought with materials needed to be collected. Most enchants are crafted normally with normal materials, but special enchants obtained through dungeon bosses and trials require a basic enchant as one of the crafting materials. The blueprints come from enchant merchants
Ring and Necklace blueprints come from accessory merchants. They are quite possibly the most expensive things to craft, many needing expensive materials such as altar summons, bloods, or fame items to craft.
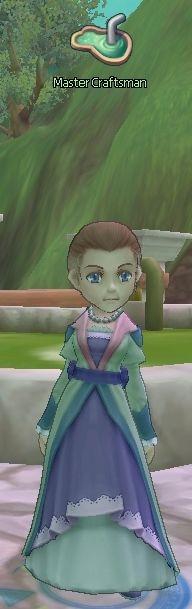
These things are crafted at Magic Pools, at a Master Craftsman, whom gives a +20% chance of success.
Crafting Aids
Worried about failures? Have no fear! There are special items, ranging from level 35 to level 75, known as a Corona. There are three types of Corona, Corona Essence, Corona Stardust, Corona Heartflame. These are obtained in altar, and respectively give increasing rates of success. They can be used in ANY sort of crafting. A Corona of a higher level can be used on a blueprint of a lower level, but a bluprint of a higher level cannot be used with a Corona of a lower level.
Corona Essence – 25% Increase Chance of Success
Corona Stardust – 50% Increase Chance of Success
Corona Heartflame – 100% Chance of Success
That's All, Folks!
That's all! I hope my guide can help you with your troubles. Good luck, and happy crafting!
